Oh joy. Oh rapture. The planking is done. This took a lot longer than I’d expected and was a lot more difficult that I thought it would be, but we saw it through.
Here’s the place the last plank goes. The pink stuff is epoxy with a thickening powder in it:

And here I am gleefully applying the plank:
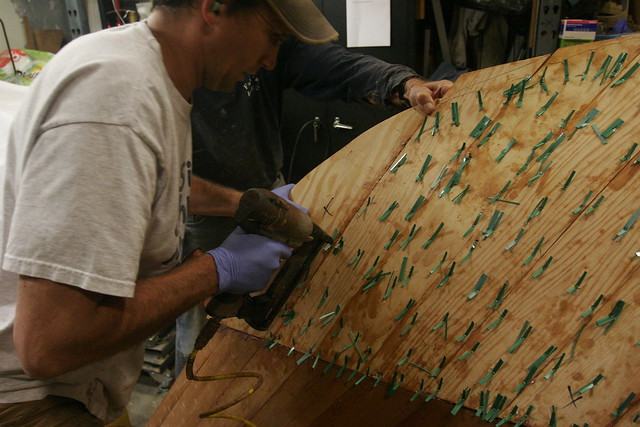
And better yet, here is the last frigging staple that will need to be removed from the planking, just prior to its removal. Pulling staples sucks. My dad and I have the blisters to prove it.:

Honestly, after the planking was done I was a bit lost for what to do next. It’s been over a month of a wash-rinse-repeat process of cutting planks to length, spiling them to fit, applying adhesive and stapling them home. It requires little thought and lots of persistence. Now we have to think again.
While my brain got to working again, I whiled away the time by catching up on my additions to my father’s graffiti:
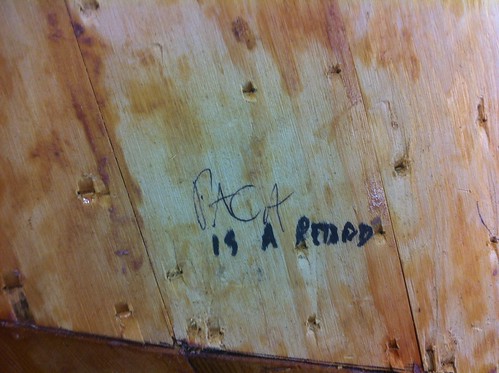
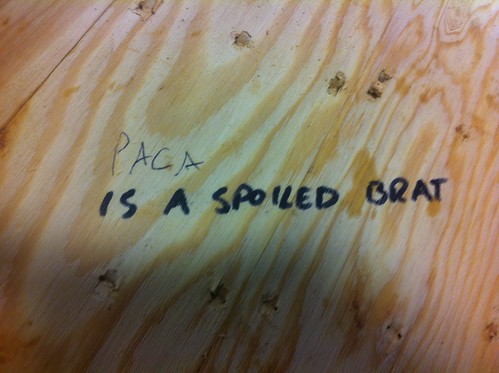
There’s one more that decorum demands not be shared in this forum.
Anyway, after noodling a bit, I decided to re-examine the voids that I’d initially thought I’d need to flip the boat over to repair. Once the planks were trimmed to length and I climbed under with a bright light, I realized the situation wasn’t as bad as I’d thought. So we’re going to fix them from underneath. I’m happy about this plan since flipping the boat comes with significant risk, and going from one turn to three wasn’t an appealing prospect.
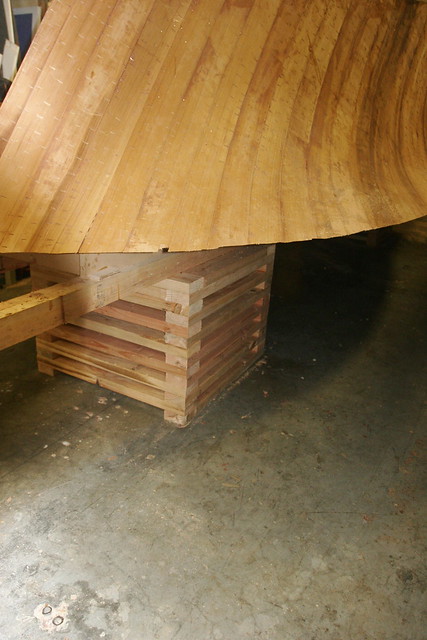
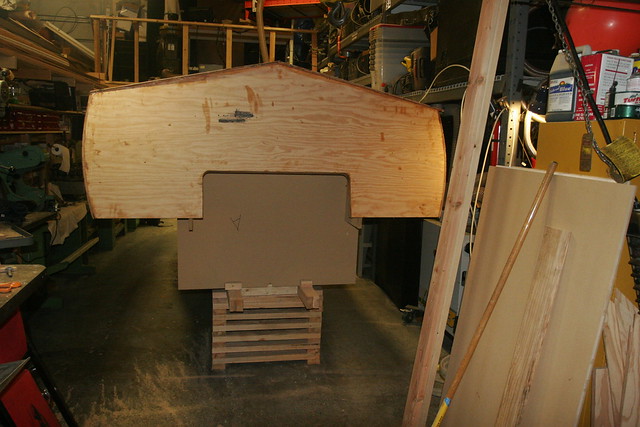
Anyway, in order to work under the boat we need to lift it up a bit to gain access. For that we need cribs. No… Not the MTV kind. The timber kind. So it was off to Home Despot to pick up a dozen and a half 10′ 2x4s and a box of nails. An hour later, we’d built a pair of very stable, 2.5′ square cribs that would support the strongback about 18″ off the ground. Then we used the gantry crane to hoist first the front of the boat, and then the stern, onto dollies so we could roll it back in the space a bit.
Then – again one end at a time – we hoisted the whole boat onto the cribs. Et voila:
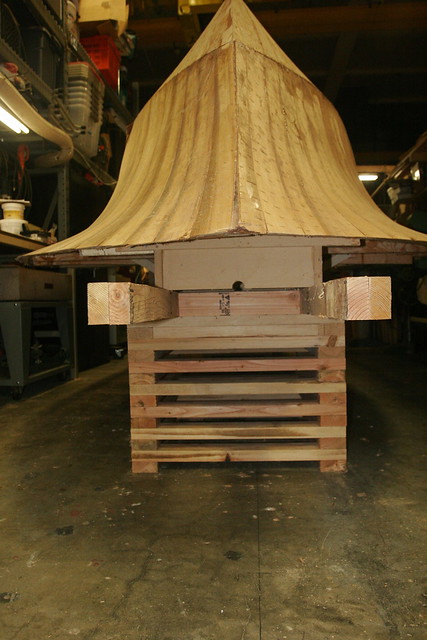
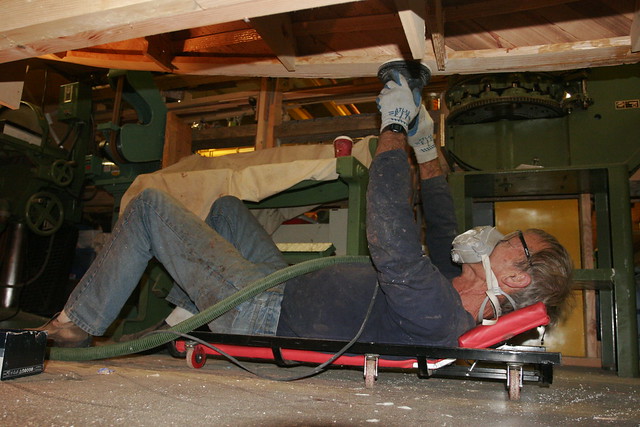
Next up: trimming the bottom edges of the side planking flush with the sheer clamps and sanding things flat enough to allow us to install a 3/4″ thick doubler on top of the clamp. This gives us a solid cap for the planks, and a stout backing for the sheer guard / rub rail assembly. It’s hard work sanding upside down. Here’s my dad doing yeoman’s duty:
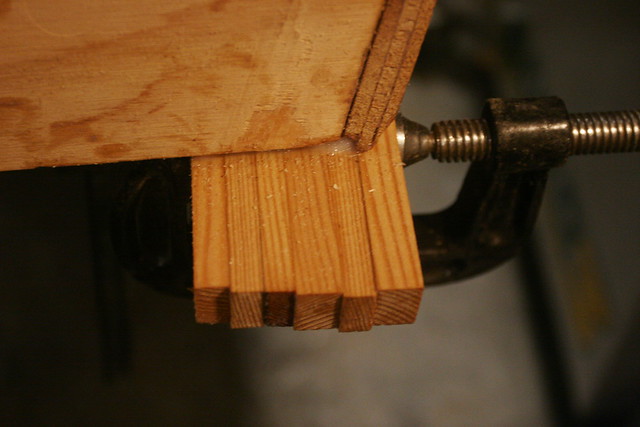
Once the prep was done, we scrounged through our pile of lumber to find odds and ends that could be milled down to create glue-lams for the aft doublers, and then glued them in place. Here’s the port one all glued up. You’re looking at it from inside the boat.:
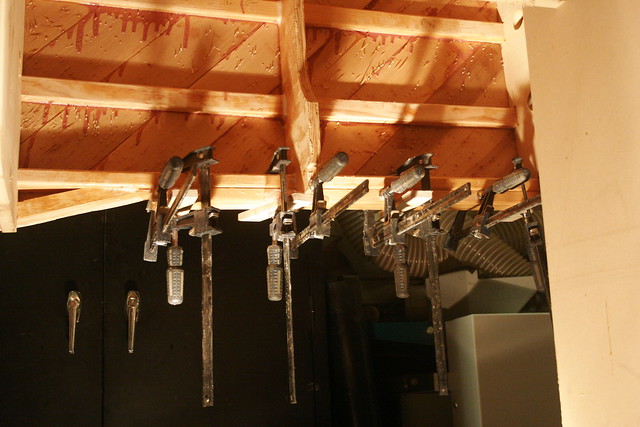
These are made from odds and ends, so the pieces aren’t of consistent width. Doesn’t matter, nobody’s going to see it. Ever.
Once that was done, we did some sanding on the hull sides to get them smooth enough to begin applying fairing compound, and then applied a base coat of epoxy thickened with Low Density Fairing Filler on the starboard side:
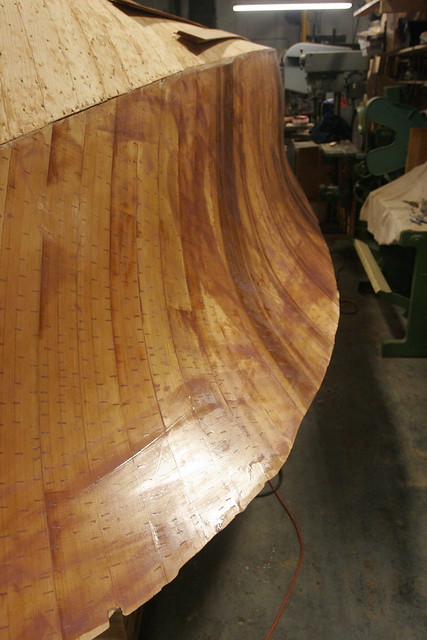
This was a “runny” coat that I wanted to use in part to seal the wood so, and in part to flow into gaps between planks, etc. It doesn’t completely fill the staple divots or the gaps, but it’s a start. Going forward I plan to use a different product – Silver Tip Quick Fair – which is pre-thickened and cures to a sandable hardness in under four hours. That means we should be able to do multiple coats per day, which should help a lot.
Tomorrow it’s off to MacBeath again for the first time in a long time. I need to get one more 20′ Doug Fir 1×12 to mill into strips to build the doublers for the forward part of the boat. That’s going to be an interesting process. The aft ones were easy since you could clamp them to the sheer clamp. In the forward parts of the boat this won’t be possible because of the flare angle of the bow. We’re going to have to come up with a strategy for clamping…
Using our brains again. Excellent!
-Ben
