Forgive me, dear reader, for the unacceptable hiatus between updates. The knee incident slowed our progress some, my helper was away, and … well … things just got busy. That said, I have progress to report!
When last I wrote, we hadn’t started layer three of the side planking. Since then, we have completed layer three. I say again… WE HAVE COMPLETED LAYER THREE! This means we’re done with the side planking. Sweeter words haven’t been written in the last 90 seconds. Here’s the finished bow area. Trust me, the out-of-frame areas aft are equally magnificent.
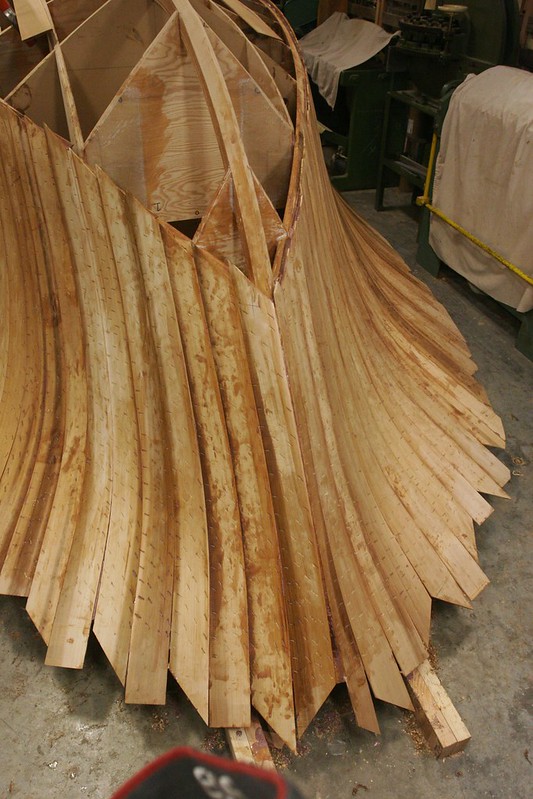
In the wake of the myriad issues with voids in the bond between layers 1 and 2, we changed our technique a fair bit for layer three. First off, we coated both the hull and the plank prior to applying the plank to the hull, and we coated the hull side much more generously. The goal was to get a lot of squeeze-out, which would ideally mean that epoxy was being squeezed into any voids between the layers as well. We also shot a lot more staples. You can see in the image above that there’s a staple for about every 2-3 square inches of wood. Staples are cheap(ish). Fixing holes sucks. Easy decision.
Once we finished layer three of the side planking, my dad went to host some guests at Fallen Leaf for a few days. During that period I did a couple of things. First, I made great headway in setting up my new CNC machine. I still have a ways to go – primarily sorting out some spindle control issues and building a vacuum table – but the machine moves in all three axes, it’s got a working spindle, and I’ve routed the dust collection hose. Here’s an older photo. I’ve since added a table (which needs to be turned into a vacuum table), mounted the VFD and added a vacuum hose. The vacuum shoe arrived from KentCNC today, so when I get back to the shop I can fire up the machine and turn the table blank into a vacuum plenum. Then I just have to plum the vacuum and it’ll be DONE!
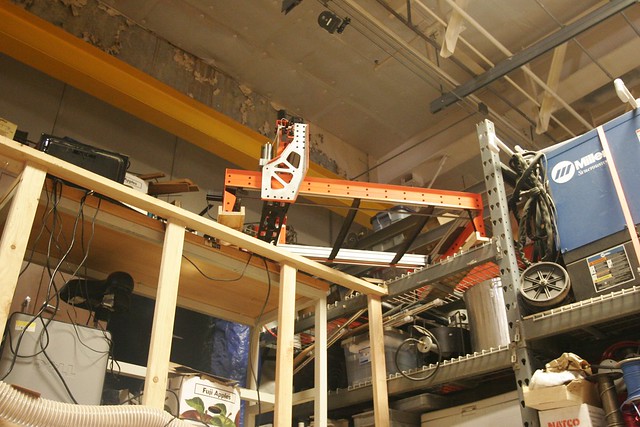
Yes, this is a very strange place for a machine. 15′ off the ground, spanning a table on an oddly constructed mezzanine and a shelf on some pallet rack. Fingers crossed that OSHA doesn’t do a surprise inspection and that there’s no major seismic event any time soon.
My dad got back yesterday. I really miss him when he’s gone. It’s so much nicer to be in the shop with a partner. Anyway, we started by ripping four sheets of 1/4″ marine-grade Doug Fir plywood into 4″ strips.
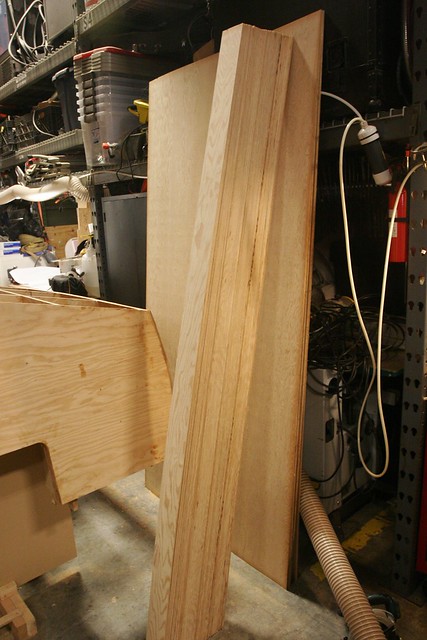
Note: The primary difference between marine grade and standard exterior grade plywood is that marine grade should have no voids in the interior layers. You pay a healthy premium for this. While in general, the material is good, I present the following photo as evidence that “no voids” really means, only a few and they’re small. Interestingly they’re all located near the center of the planks. I’m guessing it’s a misalignment where two 4′ wide interior veneers come together, but who knows…

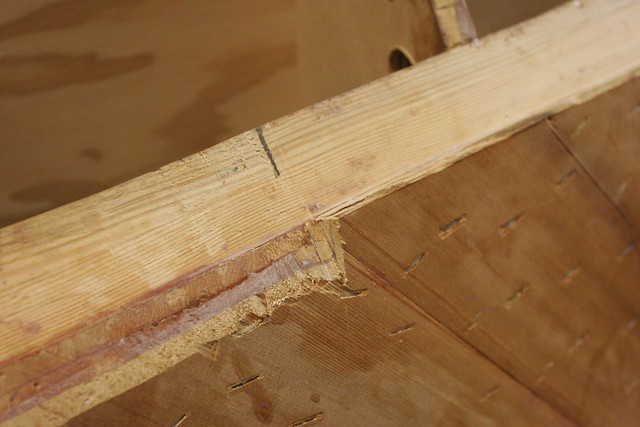
The other thing I did while my dad was away was to prep the chine area to accept the bottom planking. In the aft parts this just means fairing it consistent with the rest of the bottom line. In those areas, the bottom planking laps the side planking. It’s easy. As you move forward, eventually the angle becomes so steep that you can’t use a lap joint anymore. the plywood part would end up being faired to a ridiculously thin, knife-like edge. So you transition to a butt joint. Here’s a shot of the transition zone. To the left is the stern. To the right is the bow.
Anyway, the aft part of the boat is pretty flat, so you don’t need to use 4″ strips there. You can just use a sheet of plywood. But you need to miter the end to set up the 45-degree angle for planking the forward areas. Then you start planking with 4″ strips. This is what it looks like:
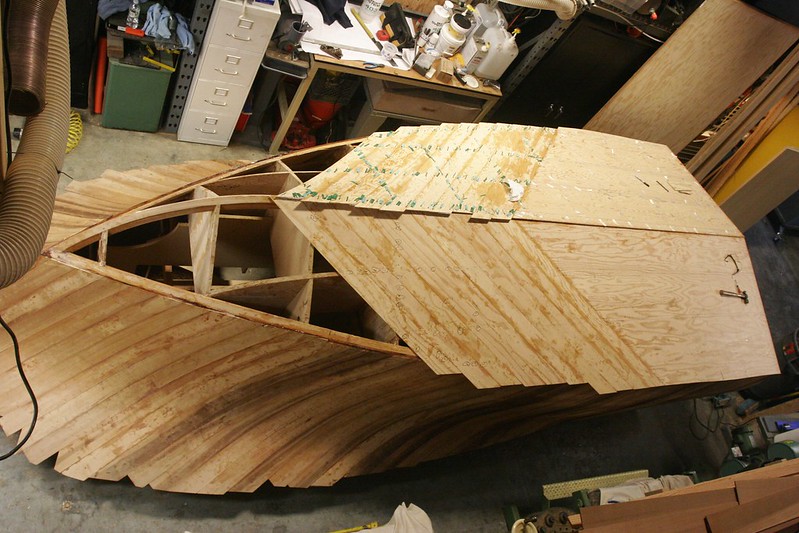
The observant viewer will note a couple of things:
1. We didn’t finish one side before doing the next. That’s because there’s a temporary bit of framing that’s a late-add from Timm that I need to install before I can plank the forward parts. I needed to get Chris to cut that for me since my CNC is still not operational, and he’s been slammed. So we went as far as we could on the starboard side and then moved to port.
2. The little green tabs are back. We’re planking the bottom in two layers of 1/4″ plywood, and the plastic staples were having a very hard time penetrating. They were kinda disintegrating on impact. So after a few hours of screwing around with the stapler we just gave up and went back to the one that shoots metal staples. Fortunately there are fewer required on the bottom, which means we don’t have as many to pull. But it still sucks pulling staples.
Anyway, you’re looking at the latest and greatest shot. I’ve got to take a few days off, but will be back at it early next week. Chris got the frame pieces cut for me this afternoon, so we can install those (which will be fast, and start working our way forward. Should be pretty fast. There’s a lot less spiling required on these planks than there is on the side planking.
-Ben
